Use this guide to add the Tango component to a Salesforce object, such as Contacts, so your team can create and send rewards directly from Salesforce.
-
New installation: The latest Tango app for Salesforce is available on AppExchange now. Use this guide if you’re adding the Tango component to a Salesforce object for the first time.
-
Upgrading from version 1.17: Remove the old Rewards Genius widget from every Salesforce object using it. Add the new Tango component as described here. For legacy 1.17 documentation, contact your Customer Success Manager (CSM) or success@tangocard.com.
Requirements
-
You can add the Tango component to any object that has all of these fields:
-
First name
-
Last name
-
Email address
-
Make sure you have created at least one record for the object before you continue.
-
The Tango component currently supports Desktop only.
About the Tango component
The Tango app in Salesforce offers a manual reward program creation wizard that lets you: connect Salesforce to your Tango Groups/Accounts, create and manage reward programs, and send rewards directly from Salesforce records. To access this wizard, add the Tango component to a Salesforce object (for example, Leads, Contacts). This guide uses the Contacts object as an example.
Not sure which object to use?
-
If you usually send rewards to individuals (customers, prospects, employees), start with Contacts.
-
If rewards are tied to a sales process, consider adding the Tango component to Opportunities as well.
-
If you use a custom object (for example, “Participants”, “Employees”), make sure it includes first name, last name, and email fields.
Add Tango component to a Salesforce object
Follow the procedure below to add Tango to a Salesforce Object.
A. Open the object in Lightning App Builder
-
Log in to your Salesforce as a Salesforce admin.
-
From App Launcher  open Contacts (or another object where you want to add the Tango component).
-
Open any existing record.
-
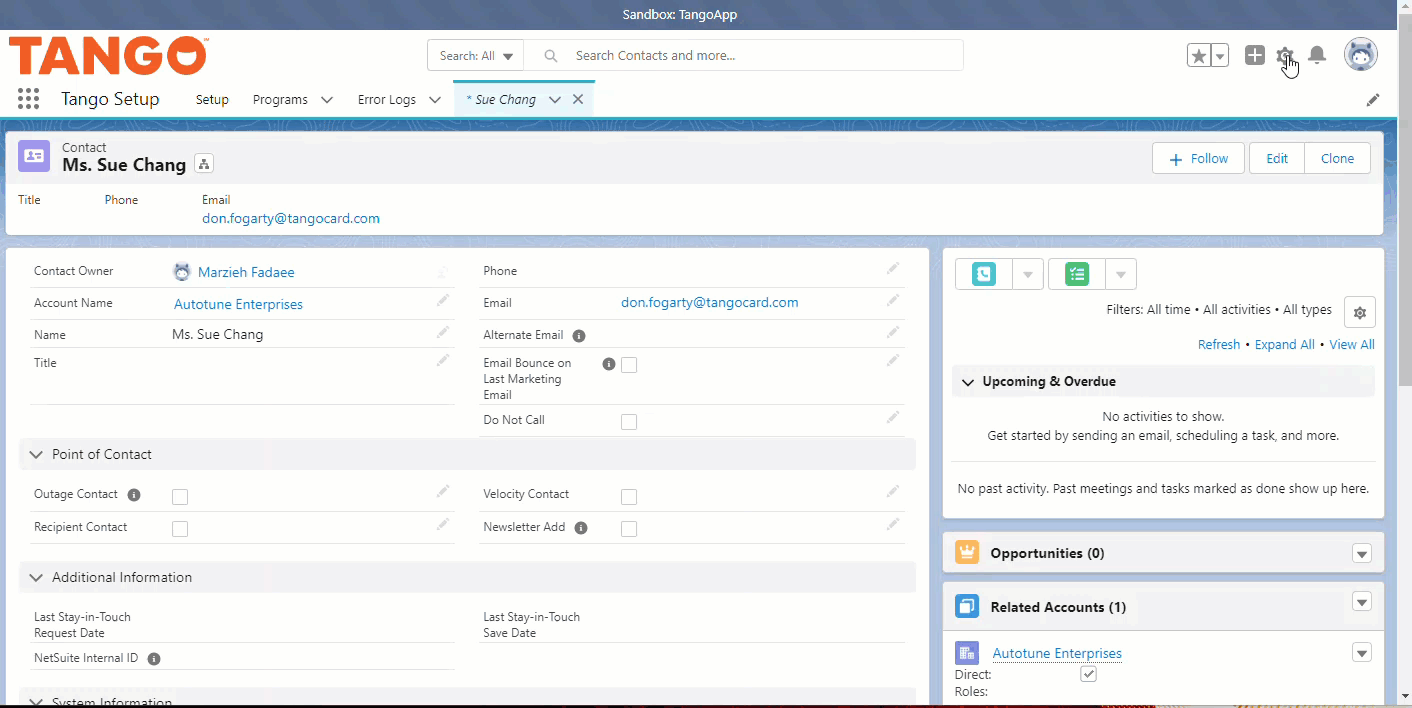
With the record open, click Setup in the top-right corner.
-
Select Edit Page to open the Lightning App Builder.
B. Add the Tango component
-
In the Components pane, search for Tango.
-
Under Custom – Managed, select the Tango component.
-
Drag and drop the Tango component onto the page where you want it to appear.
-
Click Save.
C. Activate the page for users
-
Click Activation to make this customized Salesforce page visible to your users.
-
In the Activation window, choose how to assign the page:
-
Assign as Org Default—assigns the custom record page as the organization default (recommended for most setups).
-
App default—overrides the Salesforce default page for a specific app.
-
App, Record Type, Profile—overrides Salesforce app defaults and lets you control which users see the page.
-
For Form Factor, select Desktop.
-
Click Next.
-
Click Save.
D. Verify the component
-
Click Back to return to the record page (for example, a Contact record).
-
Confirm that the Tango component appears on the page for that object.
What’s next?
The next step is Step 5: Connect to the Tango portal from Salesforce.
More resources:

